Personnel account
In the oneyar free attendance system, there are significant differences between the user account of the personnel and the user account of the managers. In the following, you will get to know the features of the personnel account
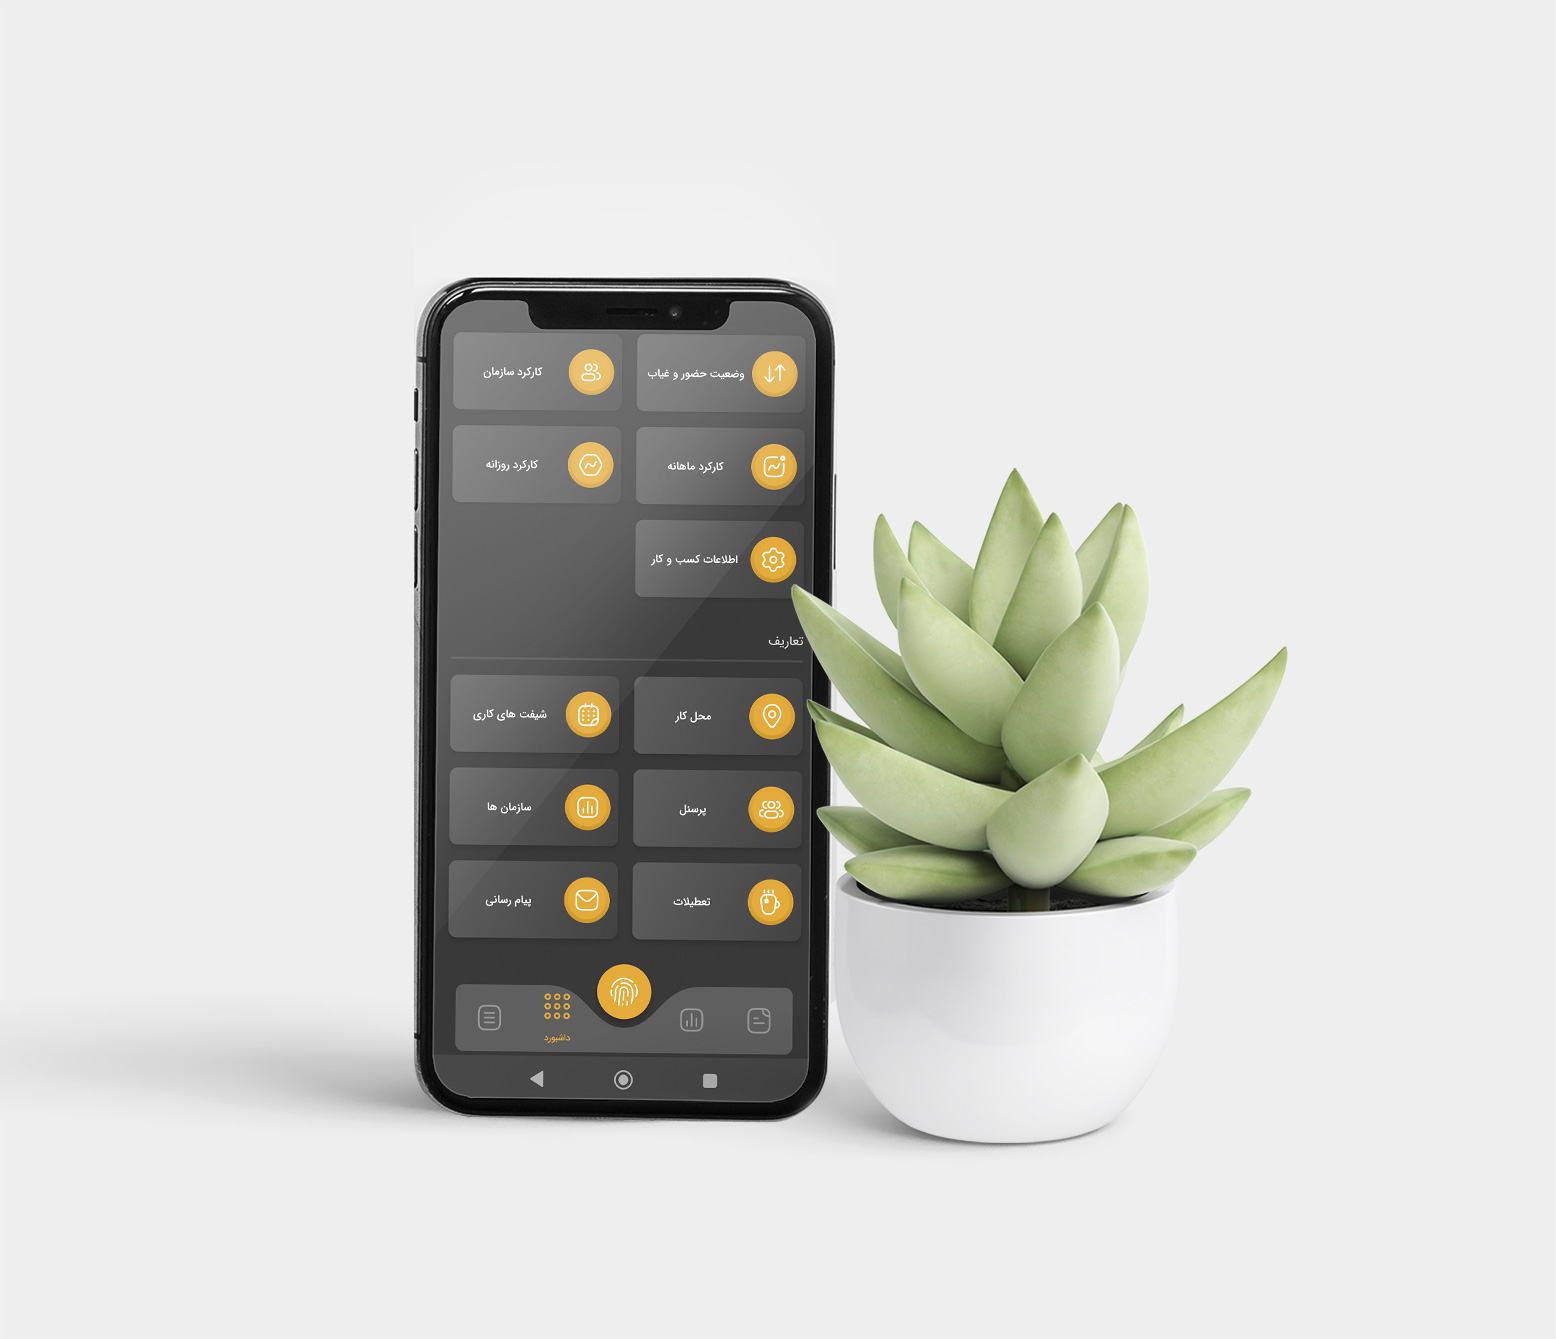
Personnel account menu
•Traffic registration menu:
The main menu for personnel is traffic registration. This page contains the following information:
Traffic registration button :
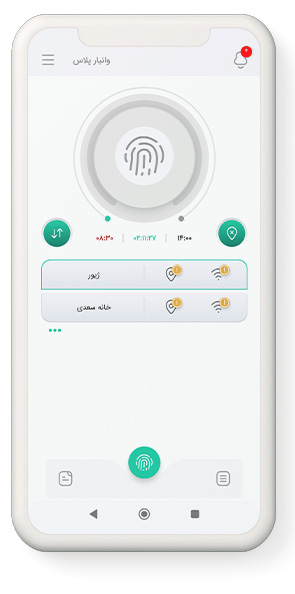
The traffic registration section consists of several parts: the traffic registration button in the center of the circle, which, as the name suggests, has the task of recording personnel traffic, a colored band around the traffic registration button, which shows the amount of work shift elapsed.
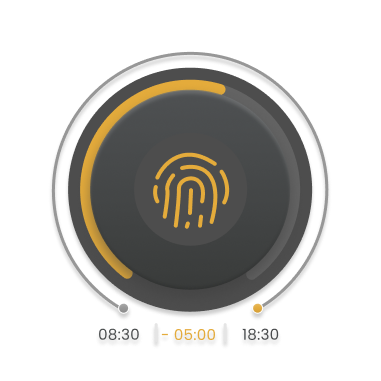
At the bottom of the circles in this section, there are 3 boxes, each representing a topic.
The first box from the left represents the start time of the work shift. If the entry is delayed, the numbers inside this box will be displayed in red.
The middle box is the time left until the end of the shift. This time is displayed in the reverse way, i.e. as a decreasing trend to zero. But if the personnel's shift ends, this number will be displayed incrementally
The box on the left is the scheduled end time of the shift
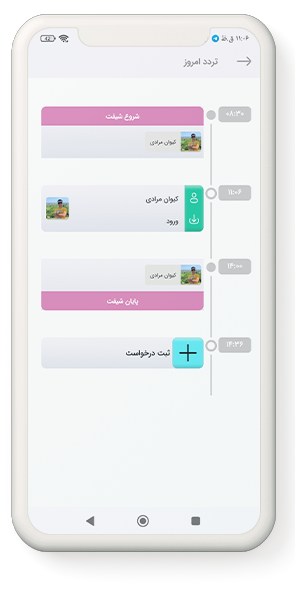
Today's traffic : By touching this button, the user can view the current day's traffic in the form of a timeline.

Also, in this section, the user can send all kinds of requests including leave, mission, etc. to his manager.
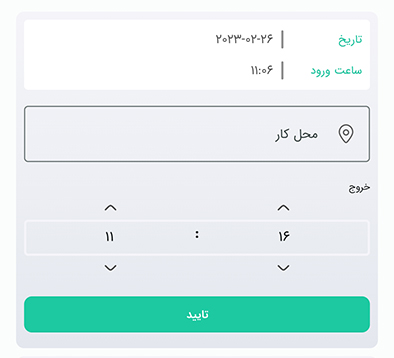
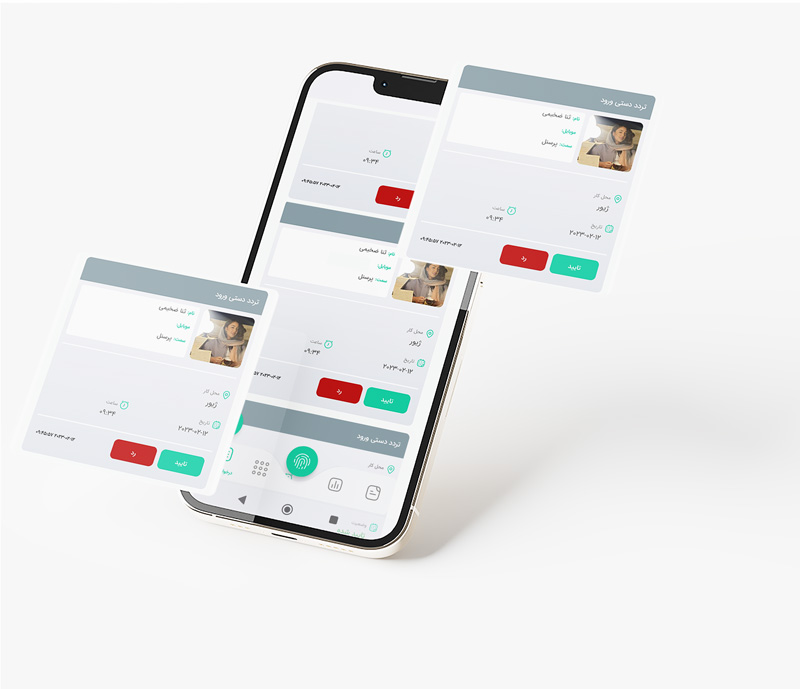
Incomplete traffic: .In this section, traffics for which entry is registered but exit is not registered are displayed..

By viewing the list, the user can see the date and time of arrival as well as his workplace and by specifying the departure time, he can send a request to forget the departure traffic to the main manager or the manager of his organization.
Requests to forget the exit traffic can be seen in the folder of the manager or the manager of the organization, and the manager takes an appropriate response to the request by approving or rejecting the request.
List of workplaces :In this section, a list of the user's workplaces can be seen. By viewing this list, the user can see the authorized mechanisms for registering his traffic, and if any of the conditions are not met, he can see the reason for not registering his traffic with a red warning sign.
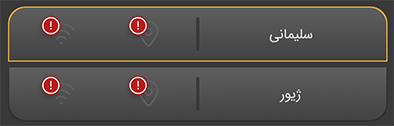
One of the main reasons for not registering personnel traffic is that Wi-Fi is turned off or the location of the user's cell phone is off.
Another common reason for not recording traffic is the small radius allowed for the location of the workplace in the definition section of the workplace in the management dashboard. To solve this problem, the manager should touch the workplace from the dashboard menu of his user account and finally increase the radius by clicking the edit button of the desired workplace.
• Reports menu:
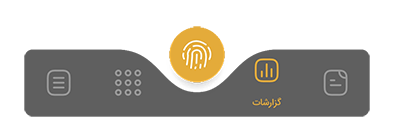
This section is related to personnel user reports. Of course, each user will see their own information.
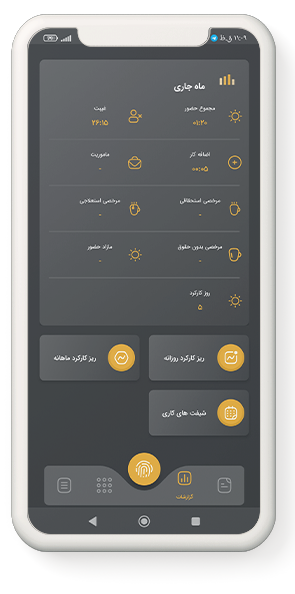
The upper part of the report page is related to total attendance and absenteeism in the current month
The bottom part of this page contains three buttons as follows:
Daily micro operation :This part includes two sections, traffic and operation details.
In the traffic section, the user can see his traffic timeline, and in the operation details section, he can see the total attendance, absence, leave, etc. for the specified day.
At the top of the page, by selecting the filter button, you can filter the report according to Set and view the desired date
Monthly micro operation :This part includes three sections: traffic, work shift and work details.
In the user traffic section, you can see your traffic timeline in the default time frame of the current month, as well as in the work shifts section. view the information related to it, and finally, in the job details section, you can view the total of attendance, absence, leave, etc. in the specified period.
At the top of the page, by selecting the filter button, you can adjust and view the report according to the desired time period.
Shift work : In this section, you can see the work shift by time period.
• Requests menu:
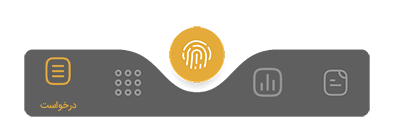
In this section, a list of the requests of the personnel that have been sent before can be seen. The user can see his rejected or approved requests.
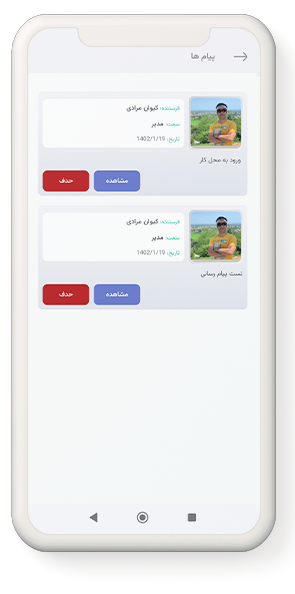
• •message box:
A list of received messages can be seen in this section. The user can view the text of the message by pressing the display key in this list.